Sunday 30 October 2016

Papercraft Prototype V1

After making papercraft samples in Rhino the next step was to choose one to import into Illustrator and then print out to fold into its shape. This of course is a protoype to see what works with the object and what doesn't.


I first printed out my templates on regular paper to see if they were big enough and easy to fold. I found that they were too small and weren't going to be easily folded, so I scaled up my templates.


The core of my object in template form ready to be cut and scored.


Template cut out.


Then folded.


Some secondary pieces of my object cut and beginning to be folded.


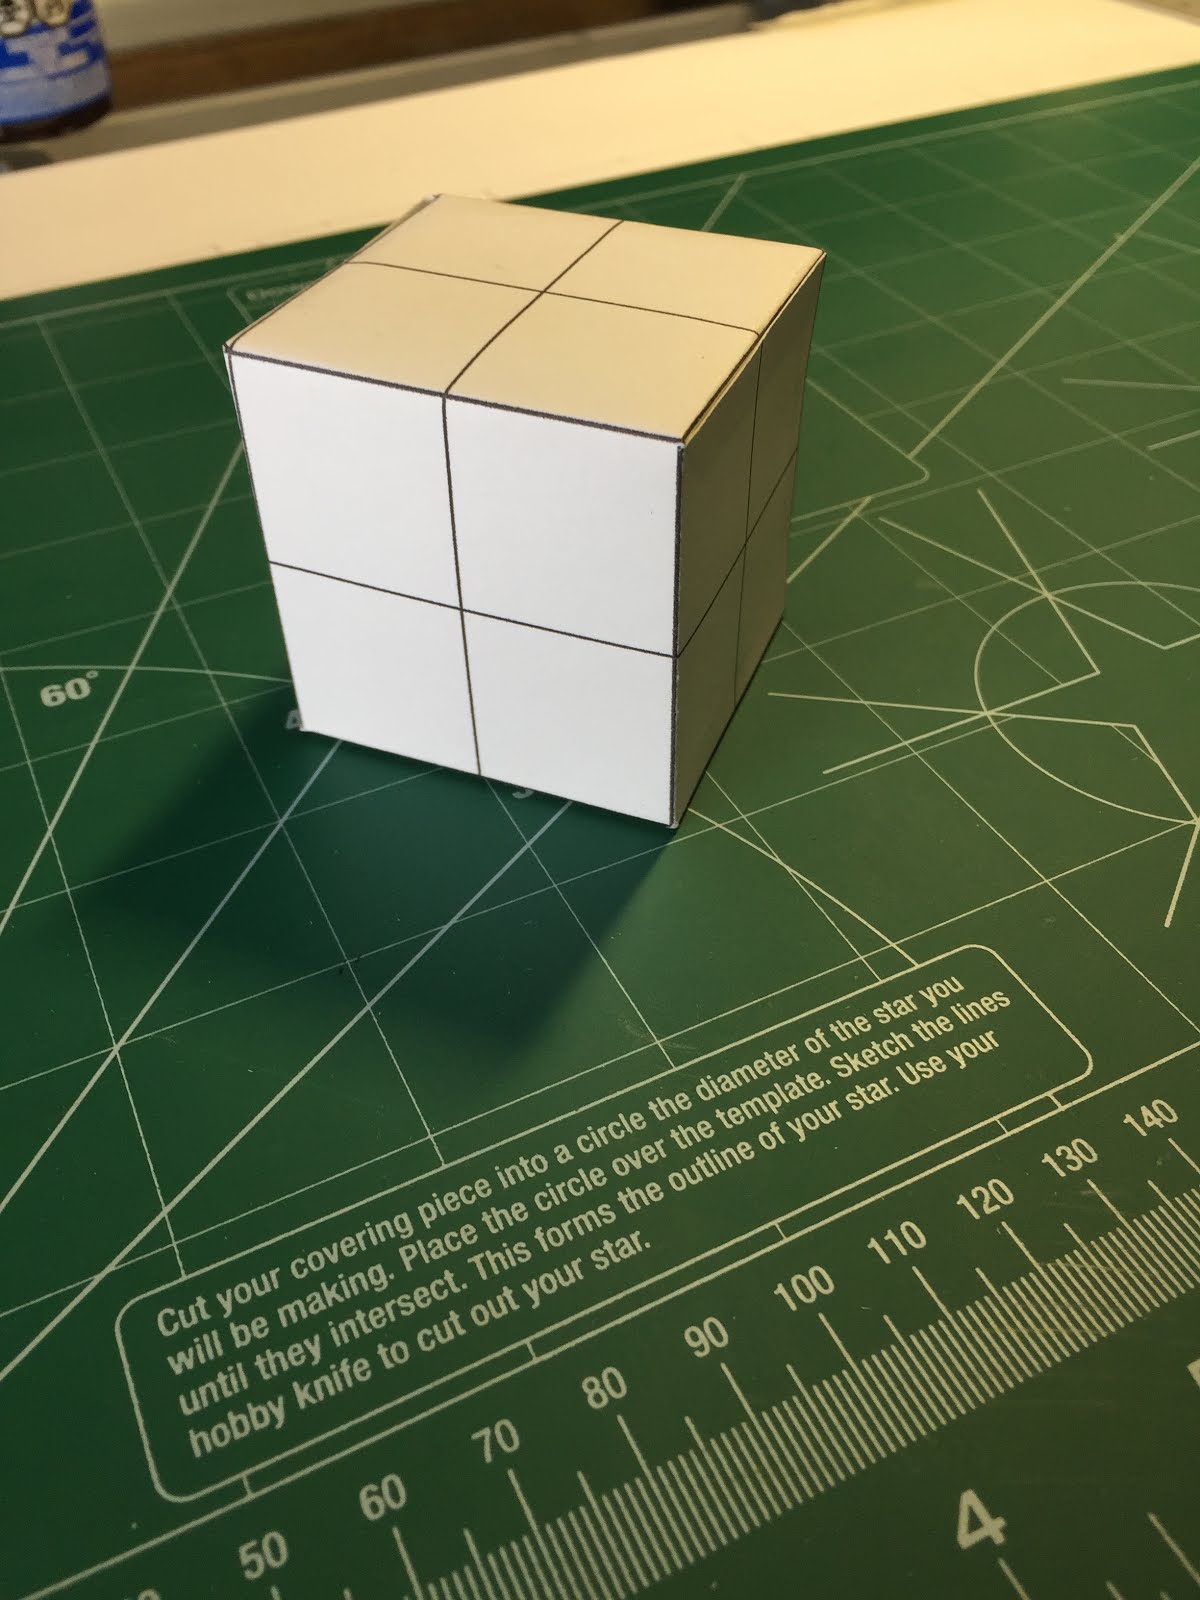
All of the pieces of my object folded and glued, the next step is assembly.


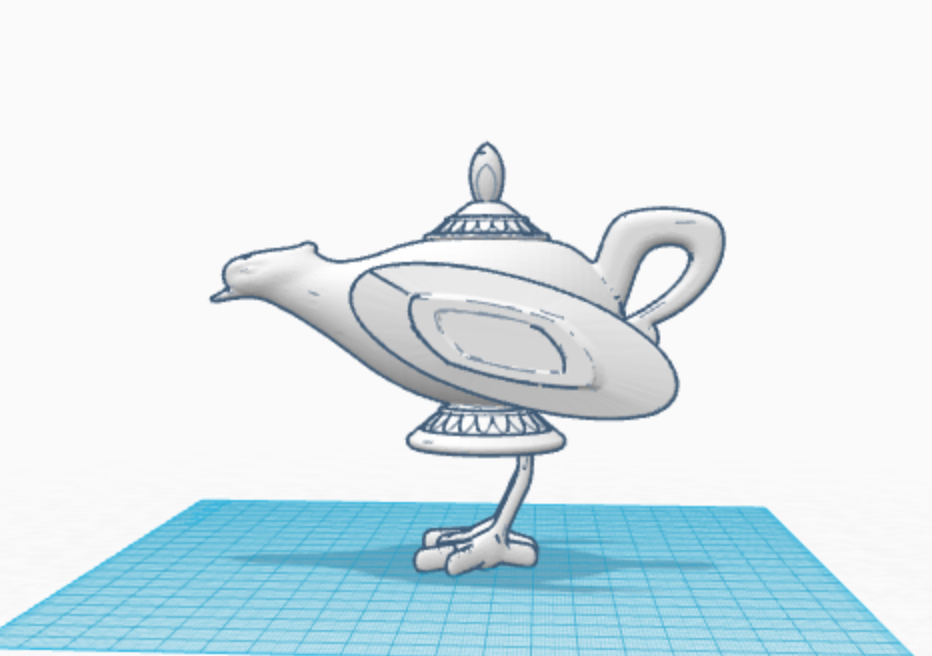
My object in its final form.


Overall I was fairly happy with how my prototype worked out, however I did come across some challenges and there are some things about my object that I would change. Firstly as I mentioned above I originally had to scale up my templates as they were going to be too hard to fold on cardstock at a small size. There were certain tabs on the "cap" of my rectangular spikes that I didn't need and were just getting in the way when folding and glueing. I did try two different methods of tabs for the rectangles and found one method better that the other. Another challenge was glueing, my object is a little hard to handle when it comes to glueing it together. I needed to add more glue to certain parts of my object to make sure it could support itself.

Sunday 23 October 2016

Papercraft Object Samples in Rhino

For this project the objective was to make some simple papercraft objects in Rhino in both folded and unfolded form.


The main challenges I had with this project were firstly installing Rhino on my computer at home. It was a little difficult but then I got the free trial working and it was fine. The second challenge was remembering the tools and commands but once I looked them up it was smooth sailing.

Saturday 15 October 2016

Papercraft Object Exploration

In preparation for an upcoming papercraft project some research was needed to explore the medium of papercraft and to look into some cool and interesting paper art. The work I decided to investigate was by Hari and Deepti, who are known for their "Illuminated Cut Paper Light Boxes".


This work as I understand is a long and complicated process with a very simple yet effective and stunning outcome. The work involves the drawing of the objects/shape silhouettes then cutting them out with an X-ACTO knife. Once all the elements are cut out, the frame in which they will be placed in is backlit so the artists can start to piece together their composition. 

I believe probably the most complicated part about this type of work is not the cutting the objects out of paper but the creation of the objects themselves. This process involves the proper scaling of objects in order to convey the sense of depth the work creates. Alongside depth the idea of negative space and overlapping of layers needs to be kept in mind in order for the objects to be spaced properly and fit well inside the whole composition. 


I selected these artists and their work mainly because I just love the pieces they created and how unique they are. Their craft and the amount of time, thought, and preciseness they put into their work just amazes me. The silhouettes of all the elements in the frames are minimal and bring a clean look to the whole piece. The way they created depth with paper, turning a 2D composition and converting it into 3D with layering really brings the audience into the scene and gives the pieces a lot of atmospheric qualities. 

I also love the way the light combined with the layering brings multiple variations of the yellow and orange colours that gives the normally plain silhouettes some colour. The last thing that really knocks these works out of the park is that they took a simple idea and took it to the next level. They could have just done this on the computer or made the objects on one layer, but they didn't and that is what makes this an awesome collection of papercraft artwork.

Article on this work can be found here: http://www.thisiscolossal.com/2014/03/illuminated-cut-paper-light-boxes-by-hari-deepti/


Monday 10 October 2016

Adobe Illustrator Geometric Patterns

This project was to create a 5x5 grid of black and white patterns using the tools available in Adobe Illustrator.


Saturday 1 October 2016

Remixed Object Final Result

The Building Blocks


Thingiverse Entry

For some reason Thingiverse thought it would be funny to orientate it like this.
Link: http://www.thingiverse.com/thing:1800709


Response to Feedback

I received a lot of good feedback on all my objects. My classmates in the discussion all agreed this object was one of the better of the three objects so I decided to run with this idea. The feedback I gathered on this "Genie Bird" was positive, with simple suggestions for building upon my object. The main suggestion I got was to add wings and make it a bit more "bird-like" but to not add too much as to loose the lamp features. One of my group members proposed the idea to add saucers for wings, as it would make it look more like a bird but stay true to the look and feel of the lamp/teapot. While I didn't get this as a suggestion from my colleagues I felt the need to smooth out my object especially in the neck region of the bird and did so in Meshmixer. I felt these were good decisions and I feel it came out nicely.

Remix Culture

My creation relates to remix culture because it is combining multiple objects and is creating something entirely new. I first got the idea for this object while browsing Thingiverse and its huge array of creations. I found the first object for my creation, the genie lamp/teapot (whatever you prefer). When I first saw this object, its spout, the round body, the handle, the shape of a bird came to mind. After finding the other parts I assembled my object in Tinkercad which I found out is a great and easy way to remix and mash objects together. 

After finding the other parts I assembled my object in Tinkercad which I found out is a great and easy way to remix and mash objects together. The object I created is a good example of a remixed or possibly a juxtaposed creation. It combines multiple objects that are entirely different like the lamp and saucers (both inanimate objects) versus the bird, a living animal. By mashing these things together creates somewhat of a unique juxtaposition between a an animal and a regular object with similar forms compared to one another.